overview
Win Her (or His) Heart Through Their Stomach
One of the biggest Hallmark holidays are coming: Valentine’s day! The day that many of us, mostly in the States, go out of our way to do a little something special for that special someone. While this day is quite big, let’s take a moment to remind ourselves that we shouldn’t be showing our love only on February 14 but every day of the year. Sometimes it’s nice to get a little something just because it’s a Thursday, it’s heartwarming taking the time every morning to give your boo a good morning kiss or it’s even better devouring chocolates together just because it’s February 15 and all chocolates are on sale. While the big gestures and big days are wonderful, the little things that you do everyday can have a huge impact.
Lessons aside, one of the greatest ways to show love is cooking a wonderful meal and for a good number of reasons. First, who doesn’t love food? Second, it’s easy getting a reservation at restaurant, but making a meal for them shows they are worth the time and effort of a well thought out feast. Third, seriously who doesn’t love food? You can’t go wrong even if you bomb cooking the food (because your gesture is cute enough)… kind of.. but let’s hope I can guide you well enough to not worry about that!
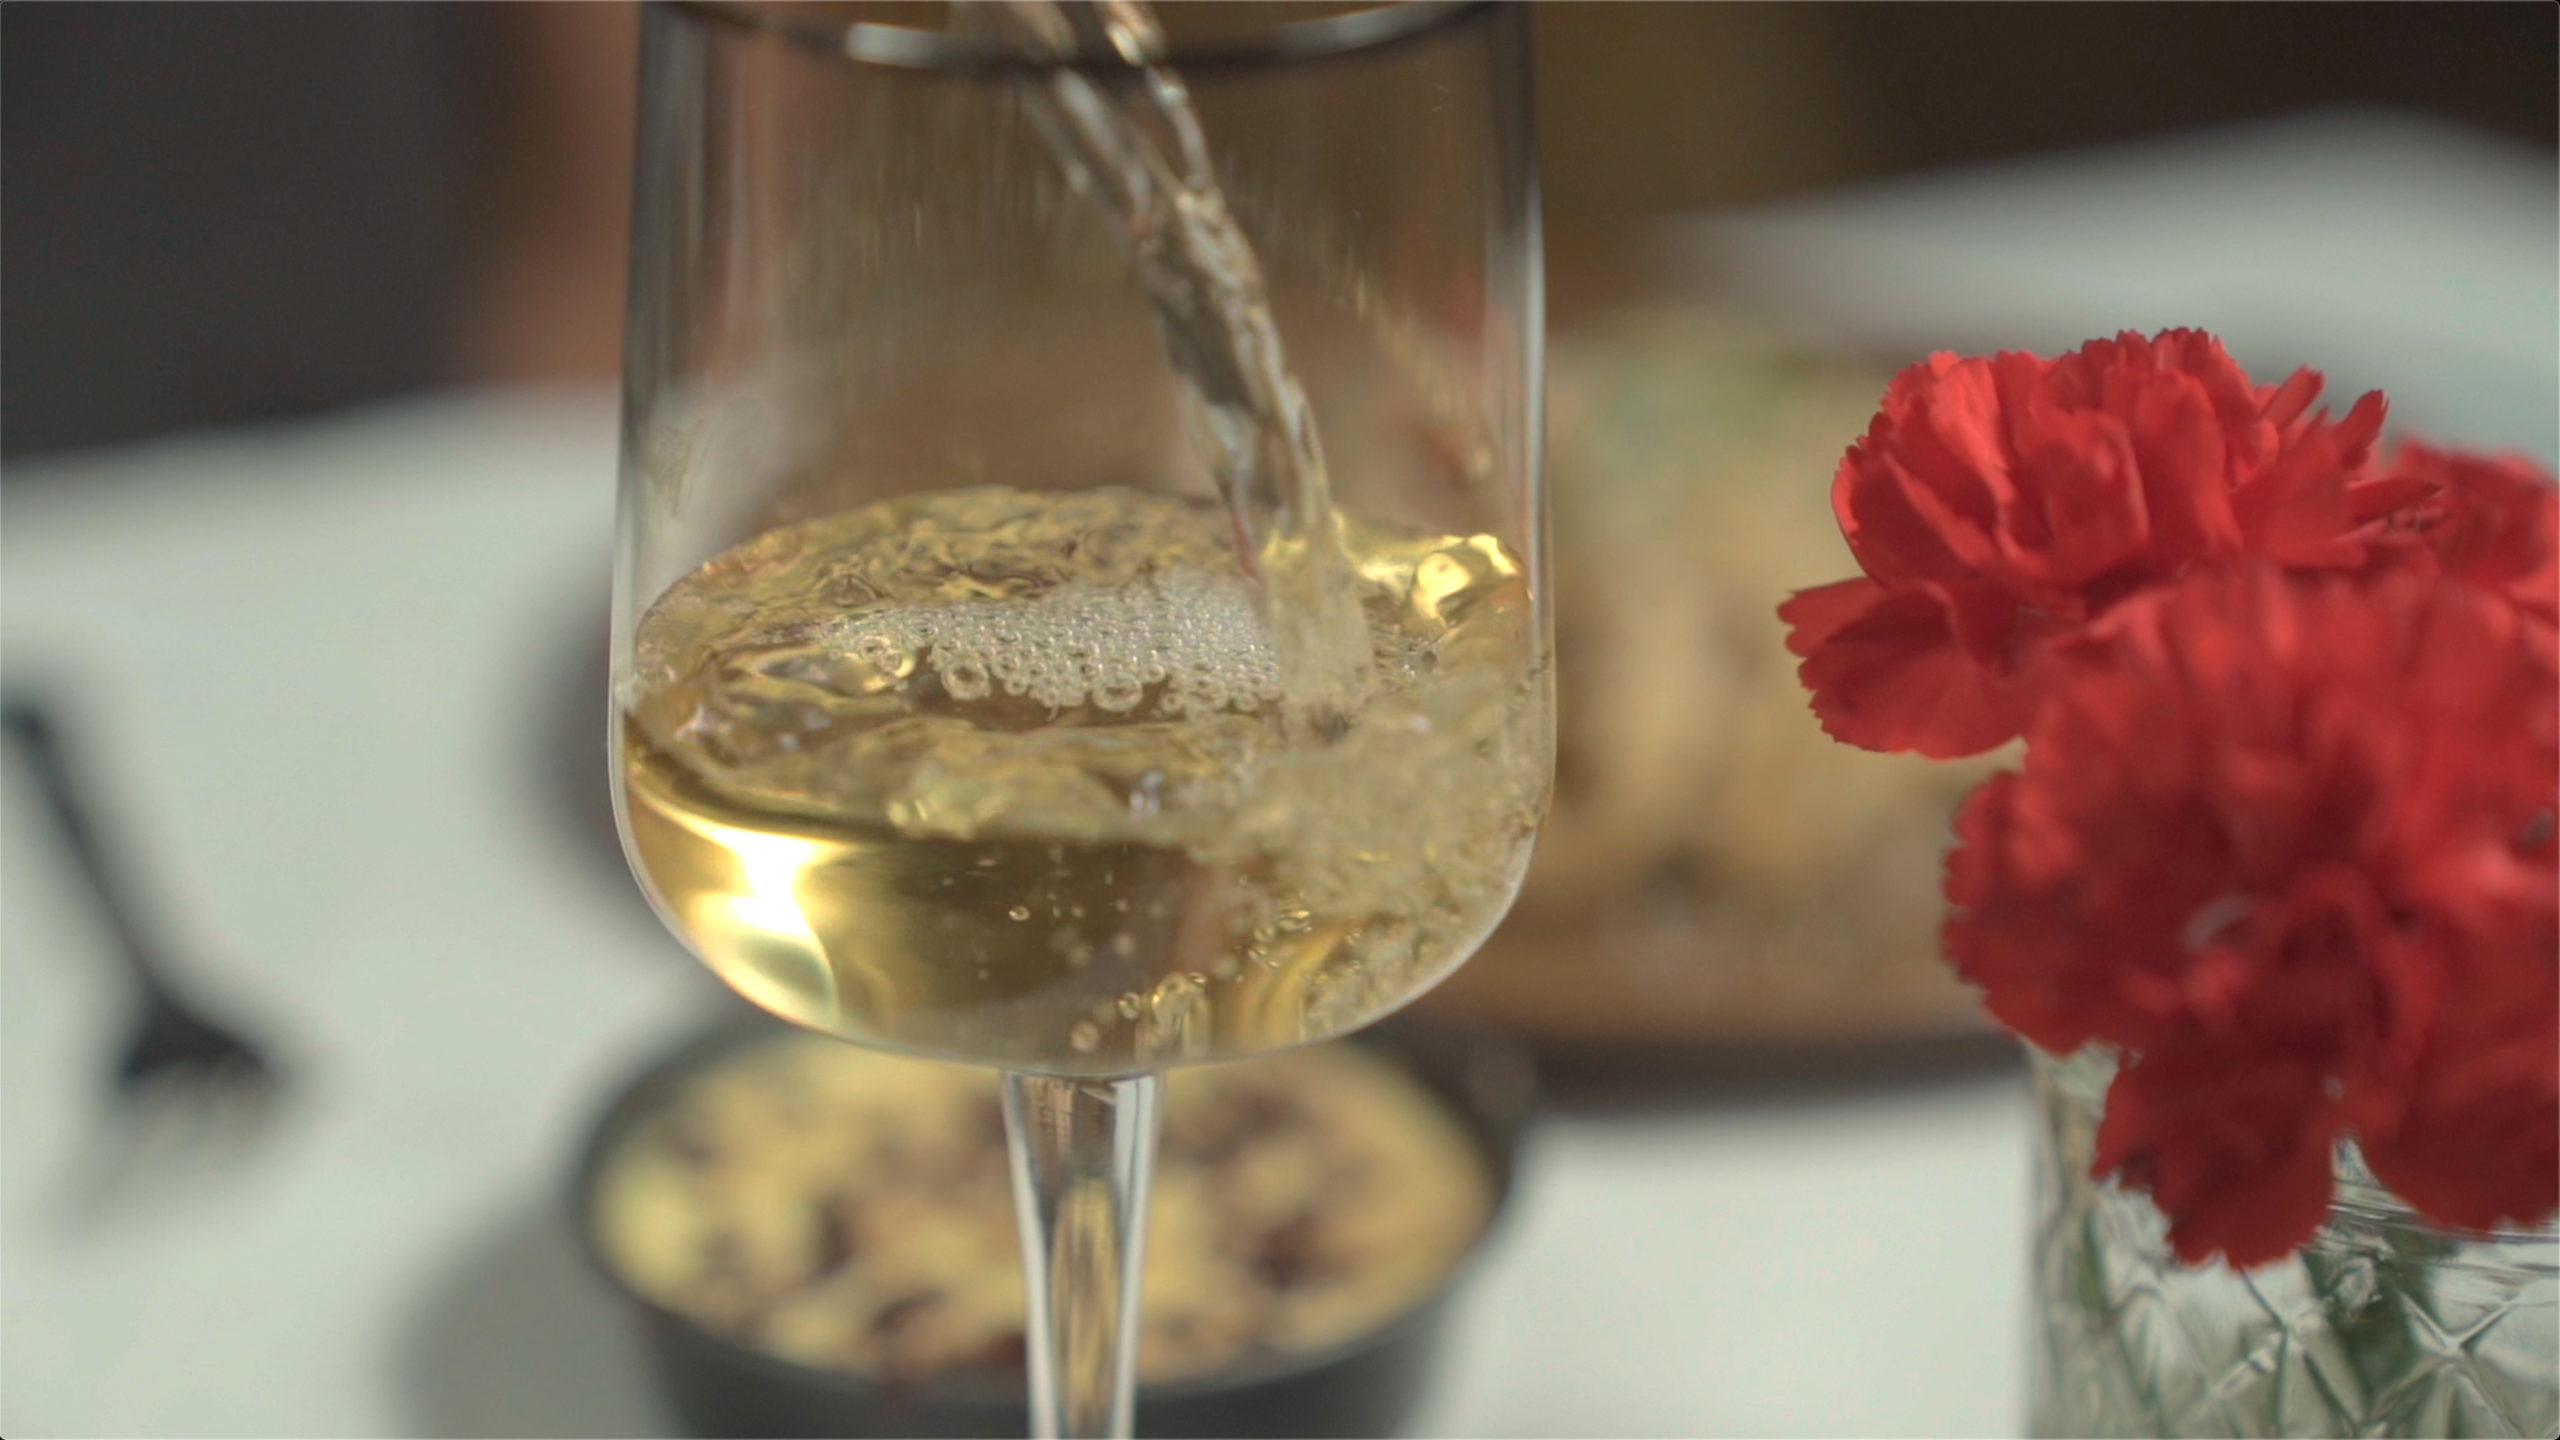
The goal of your special meal is not just to cook great food but to create an experience, so the food itself is only one component of the whole. Draw out how you would like to serve these dishes on paper, what you want the table to look like, little accents of love with candles or flowers and so forth. Doing this will give you an idea of what serving equipment to use. Is this more of a “family style” dinner or are you plating the meal? Use your imagination and create that experience!
Today’s menu consists of 3 dishes that’ll help you melt their heart and start the wedding planning! Strawberry Spinach Salad with Maple Vinaigrette, Seared Chicken Linguine with a Creamy White Wine Sauce, and Mini Cheesecakes with a Crunchy Chocolate Drizzle.
Strawberry Spinach Salad with a Maple Vinaigrette
Materials:
- 2x mixing bowls
- Whisk or immersion blender
- Some sort of jar or vehicle for finished dressing
Ingredients:
- 1 small flat of strawberries – sliced
- 8oz baby spinach – washed and dried
- Heath Crunch Toffee Topping
- 1/4 cup Maple Syrup
- 1/8 cup Apple Cider Vinegar
- 1/8 cup of Oil
Guide:
Pro Tip: You can prep the ingredients and vinaigrette earlier but do not mix together until you’re ready to serve as it will get soggy.
- Slice strawberries and set a small handful of strawberries aside. Mix remaining strawberries together with washed spinach in one of the mixing bowls.
- In the other mixing bowl, combine maple syrup and apple cider vinegar with a whisk. Slowly add your oil as you are whisking or using the immersion blender to properly emulsify the dressing.
- Taste the dressing and season as necessary
- Pro Tip: the goal flavor of this dressing is a strong sweetness from the maple syrup with a slight tanginess at the end.
- Kitchen Vocab: When tasting, “at the end” or “finish” refers to the last flavor(s) note you get as it dissipates.
- Pour in your serving jar, do not dress the salad until you’re ready to eat it.
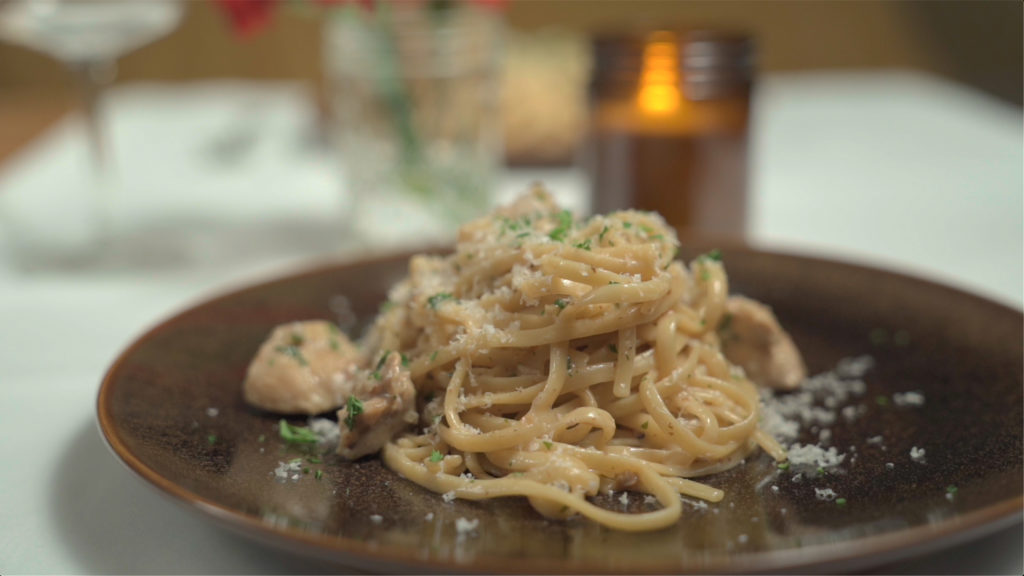
Seared Chicken Linguine with a Creamy White Wine Sauce
Materials:
- Pot for boiling
- Strainer
- Large sauce pan
- High heat spatula or wooden spoon
Ingredients:
- 2-3 Chicken Thighs (bone in or not) or 2 Leg Quarters*
- 2 servings of Linguine
- 1/4 Onions – small diced
- 1-2 Cloves Garlic – minced or rough chopped (cook’s choice)
- Butter or Oil
- 1 cup White Wine – Pinot Grigio or Savignon Blanc
- 1 cup Heavy Cream
- Parsley for garnish
*You can switch out chicken for shrimp if desired as well, if you do don’t skimp and get tiny shrimp! This is a meal for someone that means a lot to you… they deserve them jumbos!
Guide:
- Heat pan to medium high heat, add some butter or oil then sear off your chicken until skin is golden brown. When done take out of pan let rest for a couple minutes.
- Pro Tip: If you’re using boneless skinless protein then you can chop it into cubes just a bit smaller than bite size. Bone in protein is great for the overall presentation but not necessary!
- Add a little bit more butter or oil then start to sweat your onions. When onions are translucent, add in your garlic and cook, stirring often to prevent garlic from burning.
- If you’re using bone in chicken then place it back in give it a mix with the onions and garlic. If you are going the bite sized route then do not add it back in.
- Pour wine in and simmer until reduced by half. Scrape the bottom to help deglaze the pan then cover. With bone in chicken in you can cover the pan while it reduces.
- While that reduces, cook your linguine to al dente a in salty pot of boiling water.
- Kitchen Vocab: Al dente translates to “to the tooth” but means the texture should be firm to the bite.
- Pro Tip: Not looking for something mushy nor do we want a little hard surprise when we bite into it. We want a little bit of chew and there should be a taste to the pasta as well.
- When your sauce is reduced, remove your bone in chicken if you used that, then add your cream and simmer out a bit to thicken the sauce. Add your bit sized chicken in, if you chose to go that route.
- Add your pasta into the sauce and mix together and plate!
- Plate your bone in chicken on top of the pasta.
- Garnish with chopped parsley.
Other Options!
- You can sprinkle some freshly grated parm cheese on top
- For some heat you can sprinkle some chili flakes on top
- For a refreshing hint, add lemon or even orange zest to the top
Mini Cheesecakes with Crunchy Chocolate Drizzle
Materials
- Small Ramekins
- 2x Mixing Bowls
- Microwave safe bowl
- Whisk, Stand Mixer or Hand Mixer
- Pastry bag with medium tip or Ziplock bag.
Ingredients
For Crust:
- 3/4 cup Graham Crack – Crushed
- 1/8 cup Butter – Melted
For Filling:
- 1 cup Cream Cheese – Room Temp/super soft
- 1 Large Egg
- 1/3 cup Granulated Sugar
- Splash Vanilla Extract
For Chocolate Drizzle:
- 2 Handfuls Chocolate Chips or Top Quality Chocolate – Chopped if not using chips
- 2 Tablespoons coconut oil or olive oil
Guide:
Pro Tip: You can make the cheesecake a day ahead so gameday isn’t too hectic in the kitchen!
- Preheat oven to 350F.
- For the crust, crush the crackers, then add your melted butter to the crush grahams and mix together in a bowl.
- Pro Tip: You’re just looking for the mix to stick together when you press on it, almost like packed brown sugar. You can crush the crackers in a ziplock bag by hand or in food processor if you have.
- Line the bottom of your ramekins with the crust and bake until lightly brown (a little darker brown than it is.. c’mon guys I know they’re brown already!) Let cool when done.
- Reduce oven temp to 300F.
- To make the filling, combine cream cheese and sugar in a bowl and mix well until smooth (you can use bowl, whisk and arm power, or a electric mixer).
- Add the egg to the mix then mix until smooth.
- Splash you vanilla extract and mix again.
- Spoon the filling into your pastry bag or ziplock bag (then cut half inch off the bottom corner). You can also spoon the mix straight into the ramekins, but this will help them come out much neater.
- Fill your ramekins, then tap the ramekin on the table to help it level out naturally.
- Bake until the top has a nice browning on it and there is still a jiggle. Check every 5-6 minutes.
- Pro Tip: Normally a regular sized cheesecake can take about 1.75 – 2 hours on a lower temperature (250F) and 1-1.5 hours on higher temps (400F). We are dealing with a much smaller cheesecake so I would monitor how it looks.
- Once done, let it cool on the countertop, then place in the fridge at least 2 hours.
- For the chocolate drizzle, place the chips and oil in a microwave safe bowl (alternatively you can use the double boiler method as well). Microwave the drizzle for 15-20 seconds and mix. Repeat until melted and smooth.
- Pro Tip: Chocolate can burn really fast but that’s okay!! Just trash it and start over. Everyone’s microwave is different so I would go for checking and mixing every 15 seconds.
- Take out your cheesecakes and place them on cutting board or paper towel. Drizzle the sauce with a pastry bag/ziplock or spoon it in a zig zag motion or pour a thin layer of chocolate on top. The drizzle will harden as it cools, or if the cheesecake is cold already it will harden very fast.
Let us know how your cooking adventure goes and if you have any questions or need some advice let us know in the comments or shoot us an email and we would be happy to help you create that perfect Valentine’s day experience!


